Historic homes in Lake Worth tell the story of Florida’s architectural heritage through their weathered brick facades, ornate chimneys, and time-worn masonry details. When age, weather, and time take their toll on these structures, proper restoration becomes critical. Finding the right brick repair Lake Worth professionals who understand period-appropriate techniques can mean the difference between preserving history and destroying irreplaceable character.
This guide walks you through the most effective repair methods for historic brick structures, from identifying damage patterns to selecting materials that match your home’s original construction. Whether you own a 1920s Mediterranean Revival estate or a mid-century bungalow, these proven techniques will help maintain structural integrity while honoring architectural authenticity.
Understanding Historic Brick Damage Patterns
Before attempting any repairs, you need to identify what type of damage your historic brickwork has sustained. Different problems require different solutions, and misdiagnosing the issue can lead to ineffective or even harmful repairs.
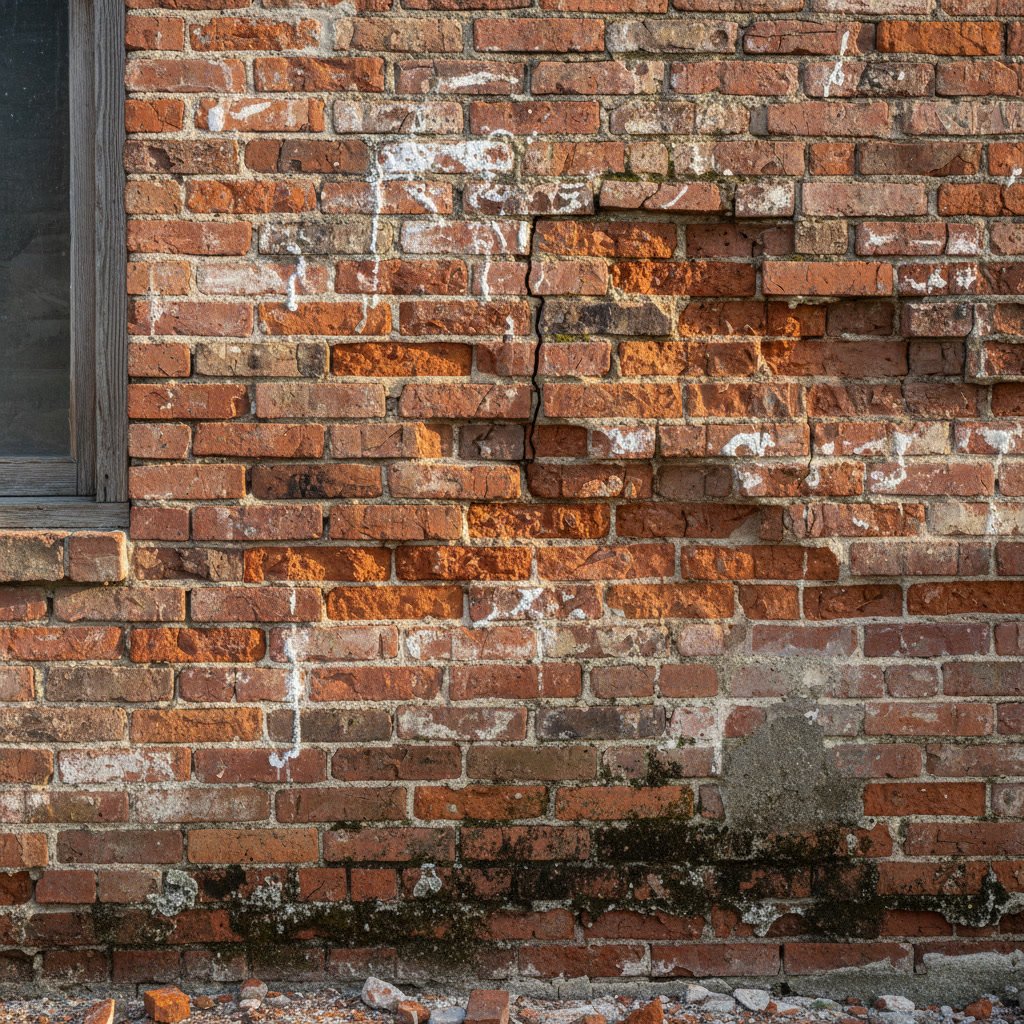
Spalling represents one of the most common issues in Lake Worth’s humid climate. This occurs when moisture penetrates the brick surface, causing the face to flake, pop, or crumble away. The freeze-thaw cycle that damages bricks in northern climates rarely affects South Florida, but our combination of heat, humidity, and salt air creates its own destructive forces.
Mortar deterioration often appears before brick damage becomes visible. The joints between bricks begin to crack, crumble, or recede deeper than the brick faces. This condition allows water infiltration that can compromise the entire wall structure if left unaddressed.
Efflorescence, those white crystalline deposits on brick surfaces, signals water movement through the masonry. While often cosmetic, persistent efflorescence indicates underlying moisture problems that need correction before cosmetic repairs begin.
The Art of Repointing Historic Mortar
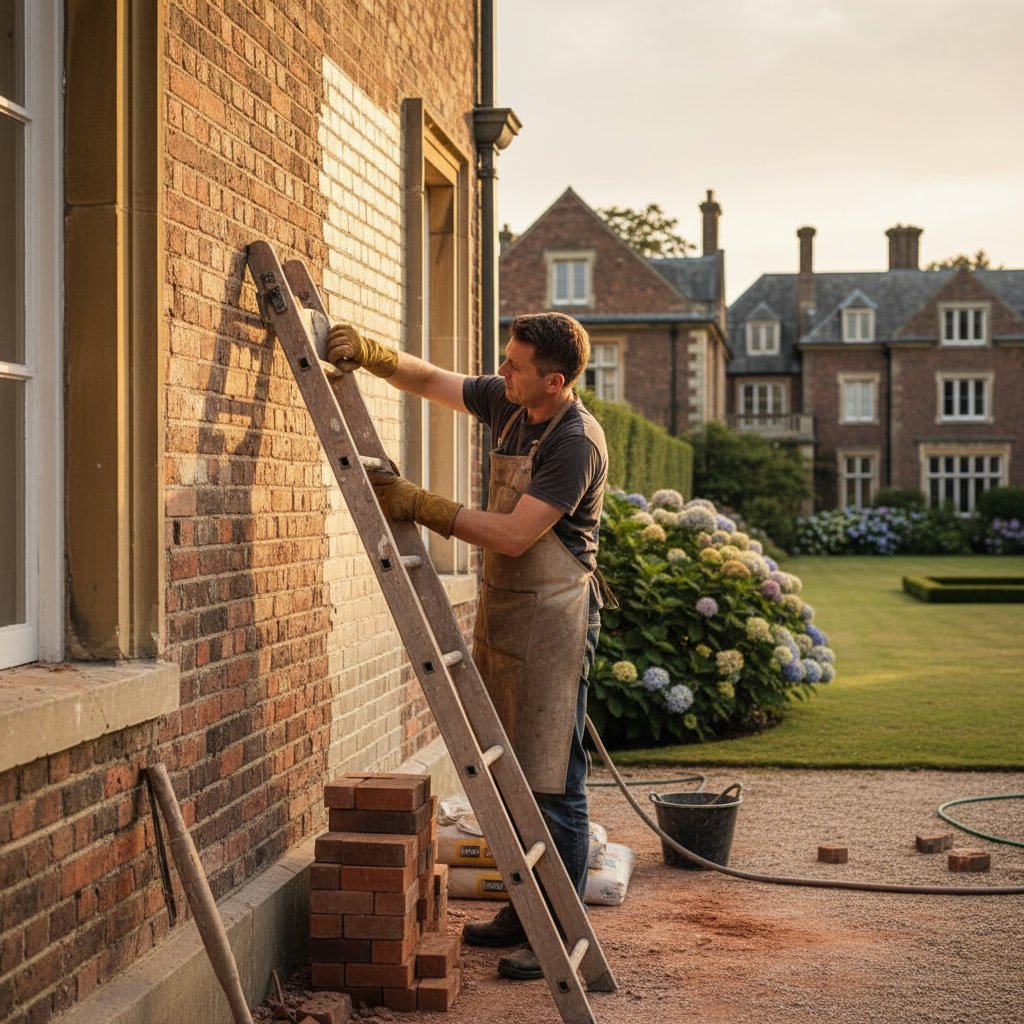
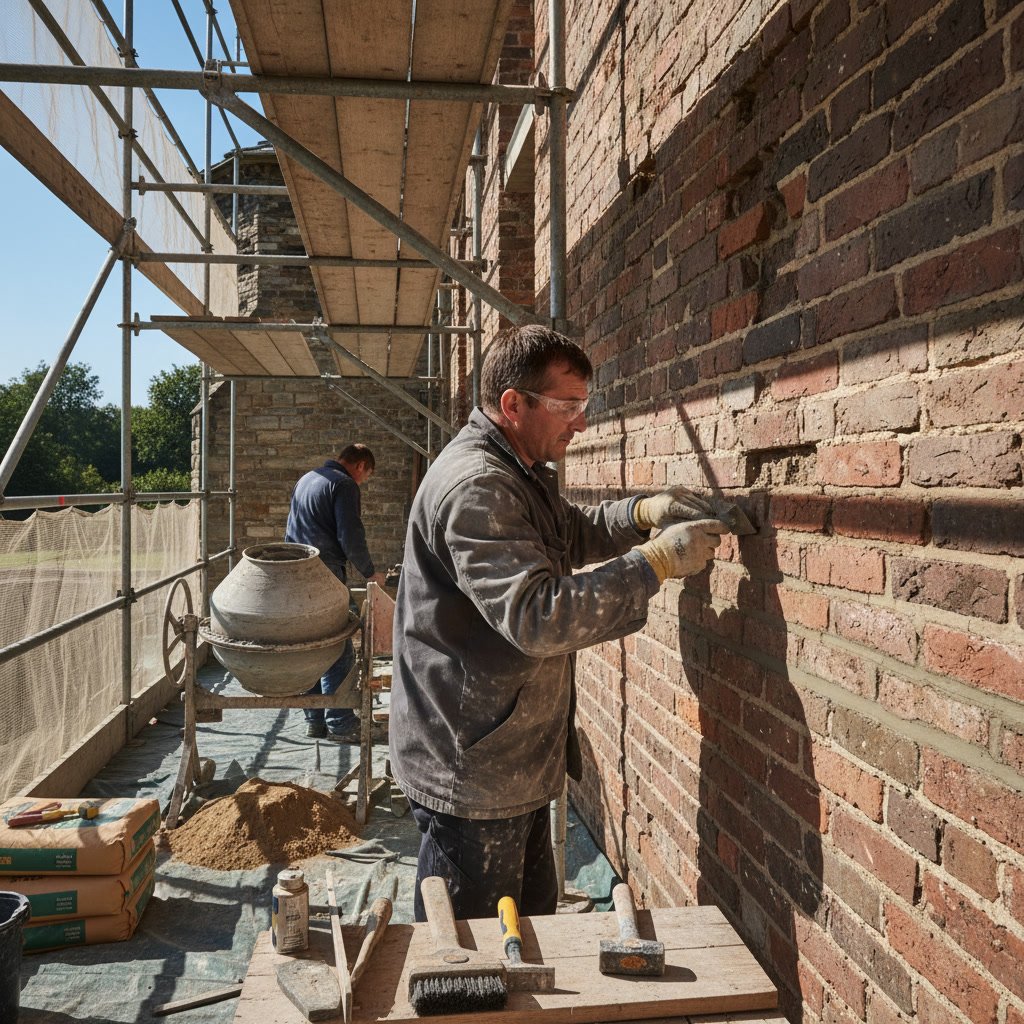
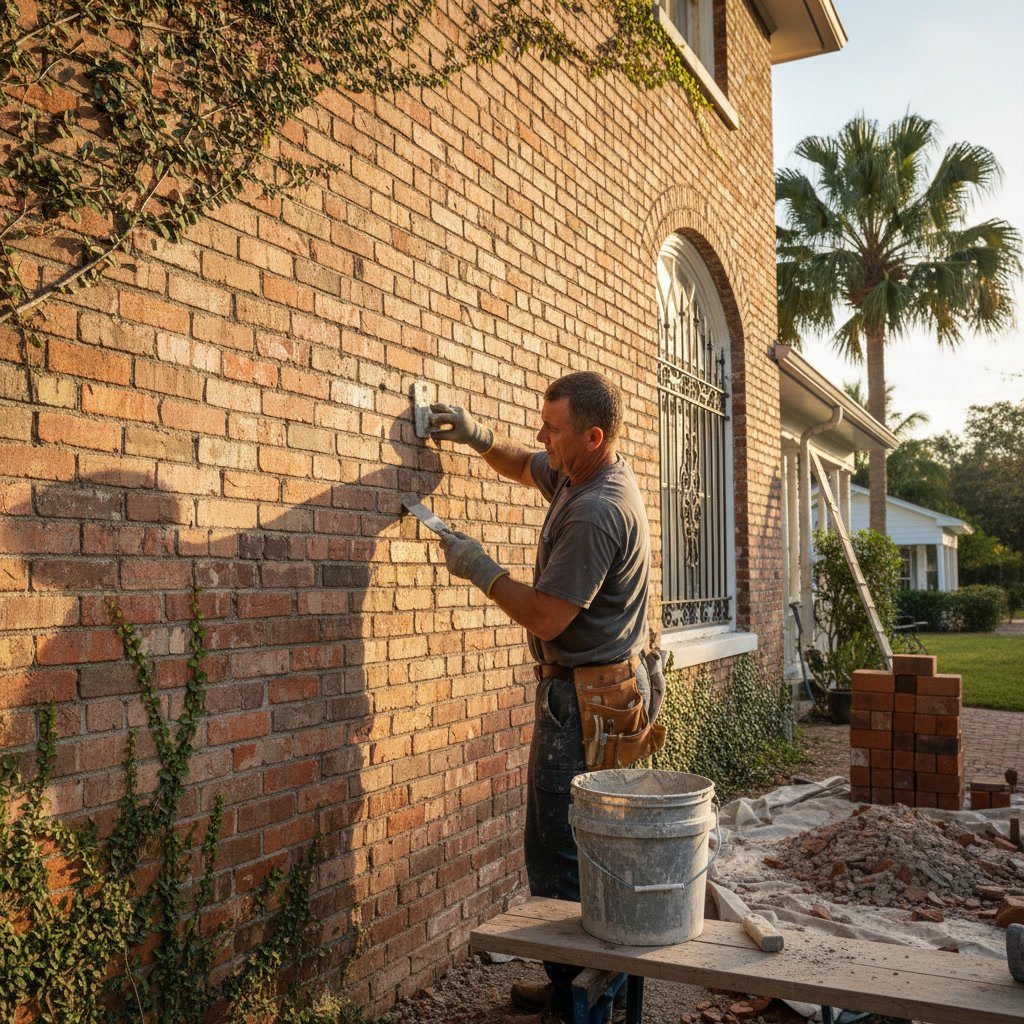
Repointing, also called tuckpointing, involves removing deteriorated mortar and replacing it with fresh material. For historic homes, this process demands careful attention to mortar composition, color, and application technique.
Original mortars in pre-1930s construction typically contained high ratios of lime to cement, making them softer and more flexible than modern portland cement mixtures. Using hard modern mortar on soft historic bricks creates a mismatch that can accelerate brick deterioration. The mortar should always be softer than the surrounding brick to allow moisture to escape through the joints rather than through the brick faces.
The depth of mortar removal matters significantly. Professionals remove deteriorated mortar to a depth of 2 to 2.5 times the joint width, typically 0.5 to 1 inch deep. Shallow removal fails to provide adequate bonding surface, while excessive depth can weaken the wall structure.
Matching Historic Mortar Color and Texture
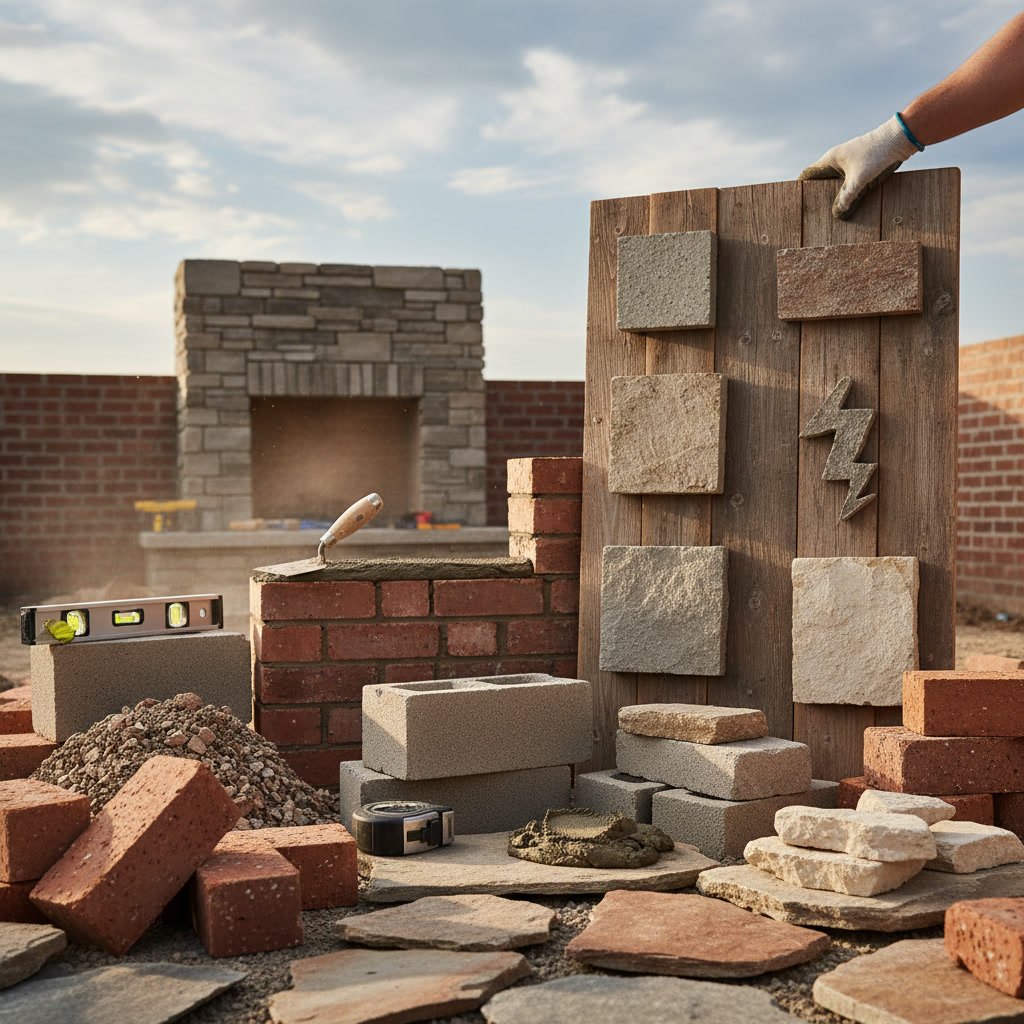
Historic mortars display tremendous variety in color, ranging from cream and buff to pink, gray, and brown. Modern pre-mixed mortars rarely match these historical tones. Professional masonry repairs often require custom color matching using natural sands, lime, and carefully selected pigments.
Texture matching proves equally important. Some historic mortars were struck flush and smooth, while others featured recessed joints, weathered profiles, or decorative beading. Replicating the original joint profile maintains the visual character that defines your home’s architectural period.
Proper Curing Techniques
Lime-based mortars cure differently than cement mortars. They require slow moisture evaporation over several days or weeks, not the rapid hardening of modern mixtures. Misting the repaired areas with water for several days and protecting them from direct sun and wind ensures proper curing and prevents premature drying that causes cracking.
Selective Brick Replacement Strategies
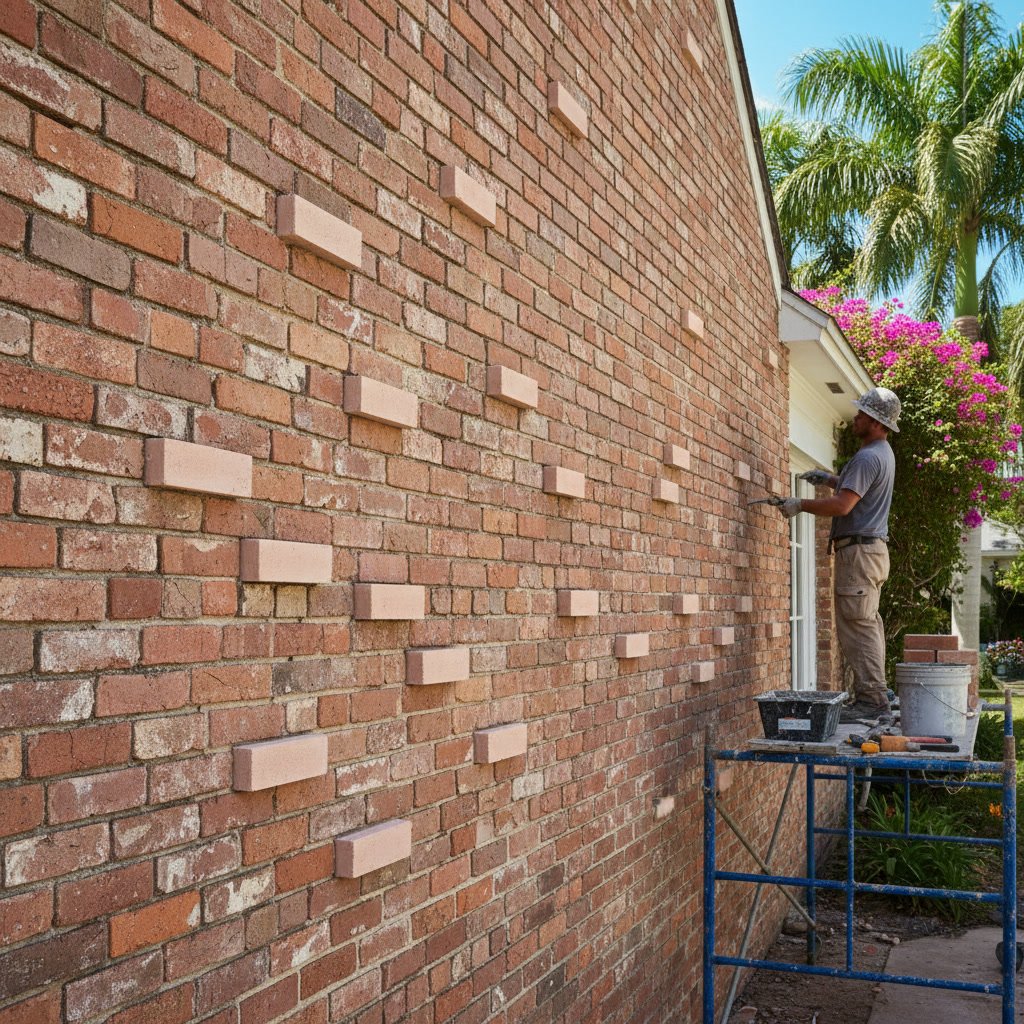
When individual bricks have deteriorated beyond repair, selective replacement becomes necessary. This delicate process requires removing damaged units without disturbing surrounding sound masonry.
Professional masons carefully cut out the deteriorated brick and surrounding mortar using hand tools or specialized grinders. Power tools must be used judiciously to avoid vibration damage to adjacent bricks. Once removed, the cavity is cleaned thoroughly and dampened before installing the replacement brick with appropriate mortar.
Finding replacement bricks that match the original in size, color, texture, and strength presents perhaps the biggest challenge. Historic bricks were often made locally with regional clays, creating unique characteristics difficult to replicate. Salvage yards throughout South Florida sometimes stock reclaimed bricks from demolished period structures, offering the closest matches for authentic restoration work.
Pro Tip: When replacing multiple bricks, consider sourcing them from inconspicuous areas of your own structure, such as interior basement walls or hidden foundation sections. This guarantees a perfect match while maintaining the visible facade’s authenticity.
Addressing Structural Brick Issues
Some historic homes develop structural problems that go beyond cosmetic repairs. Bulging walls, leaning chimneys, and foundation settlement all require immediate attention from experienced professionals.
Wall bulging often results from corroded steel lintels above windows and doors, inadequate wall ties, or foundation movement. Addressing these issues may require temporary bracing, lintel replacement, or installation of helical anchors to stabilize the structure before cosmetic repairs begin.
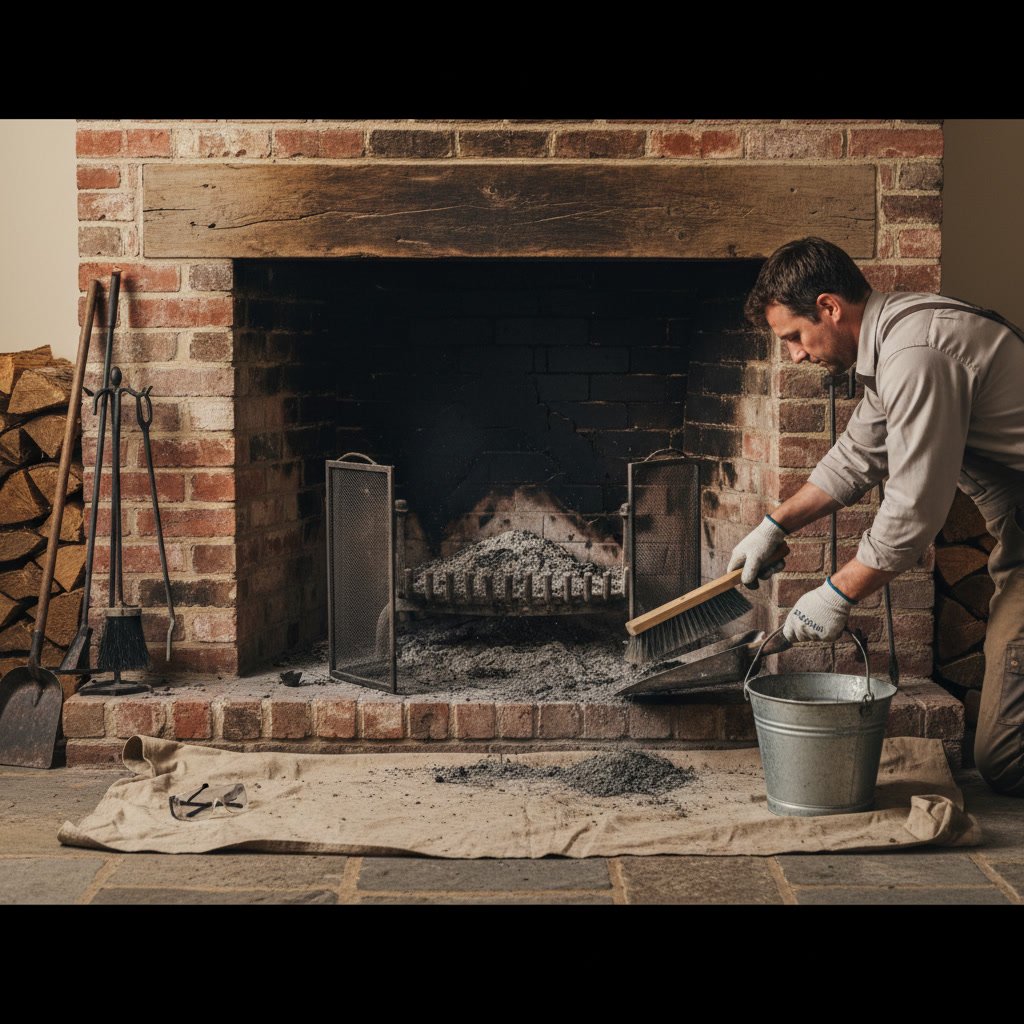
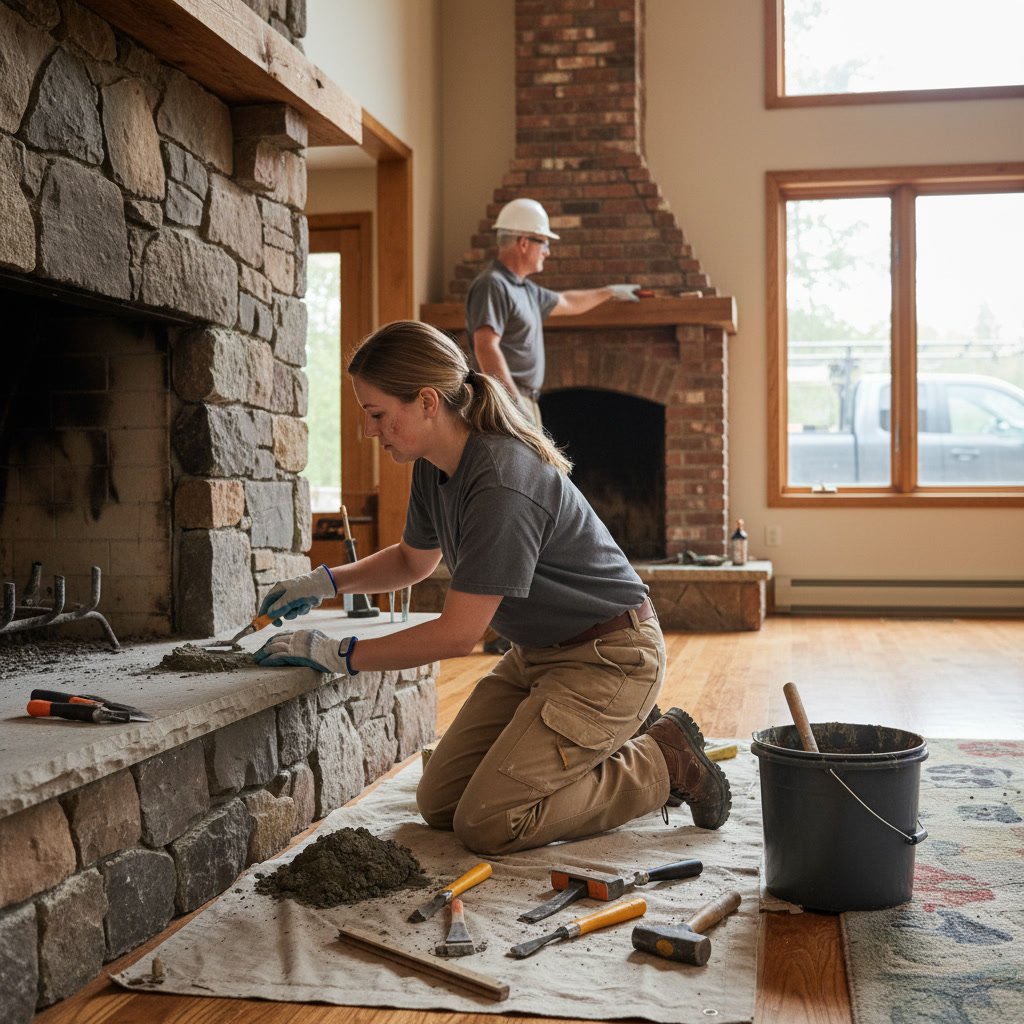
Historic chimneys in Lake Worth frequently lean or separate from the main structure due to inadequate foundations or differential settlement. Rebuilding a leaning chimney while preserving its historic bricks requires carefully dismantling the structure, numbering each brick, and reconstructing it on a properly reinforced foundation.
If you notice cracks wider than 0.25 inch, continuing movement, or structural distortion, consult with a masonry professional who understands both historic construction methods and modern stabilization techniques. Problems like these often worsen rapidly once they begin.
Cleaning Historic Brick Without Damage
Improper cleaning destroys more historic brickwork than any other single factor. Aggressive methods like sandblasting, high-pressure washing, or harsh chemical cleaners remove the hard-fired surface layer of the brick, exposing softer interior material to accelerated weathering.
Gentle cleaning begins with the mildest effective method. Plain water and soft bristle brushes remove most dirt and biological growth without damaging brick surfaces. For stubborn stains, low-pressure water washing with temperatures below 140 degrees Fahrenheit proves effective while remaining safe for most historic bricks.
Chemical cleaners should be pH-neutral and specifically formulated for historic masonry. Always test any cleaning method on an inconspicuous area first, and never use muriatic acid or other harsh acids that can damage both bricks and mortar while leaving harmful residues.
Professional masonry maintenance services understand these nuances and carry insurance to protect your investment should problems arise during cleaning.
Waterproofing Considerations for Historic Brick
Historic brick walls were designed to breathe, allowing moisture to move through the wall assembly and evaporate from both interior and exterior surfaces. Modern waterproofing products that create impermeable barriers can trap moisture inside walls, accelerating deterioration rather than preventing it.
Breathable water repellents allow water vapor transmission while reducing liquid water absorption. These products, typically siloxane or silane-based, penetrate the brick surface without creating a visible film. They reduce water penetration during storms while allowing the wall to dry naturally.
Before applying any water repellent, address the underlying causes of moisture problems. Clean gutters, proper grading, and functioning downspouts prevent far more water damage than any coating. Applying sealers over already-saturated masonry traps moisture inside, creating worse problems than you started with.
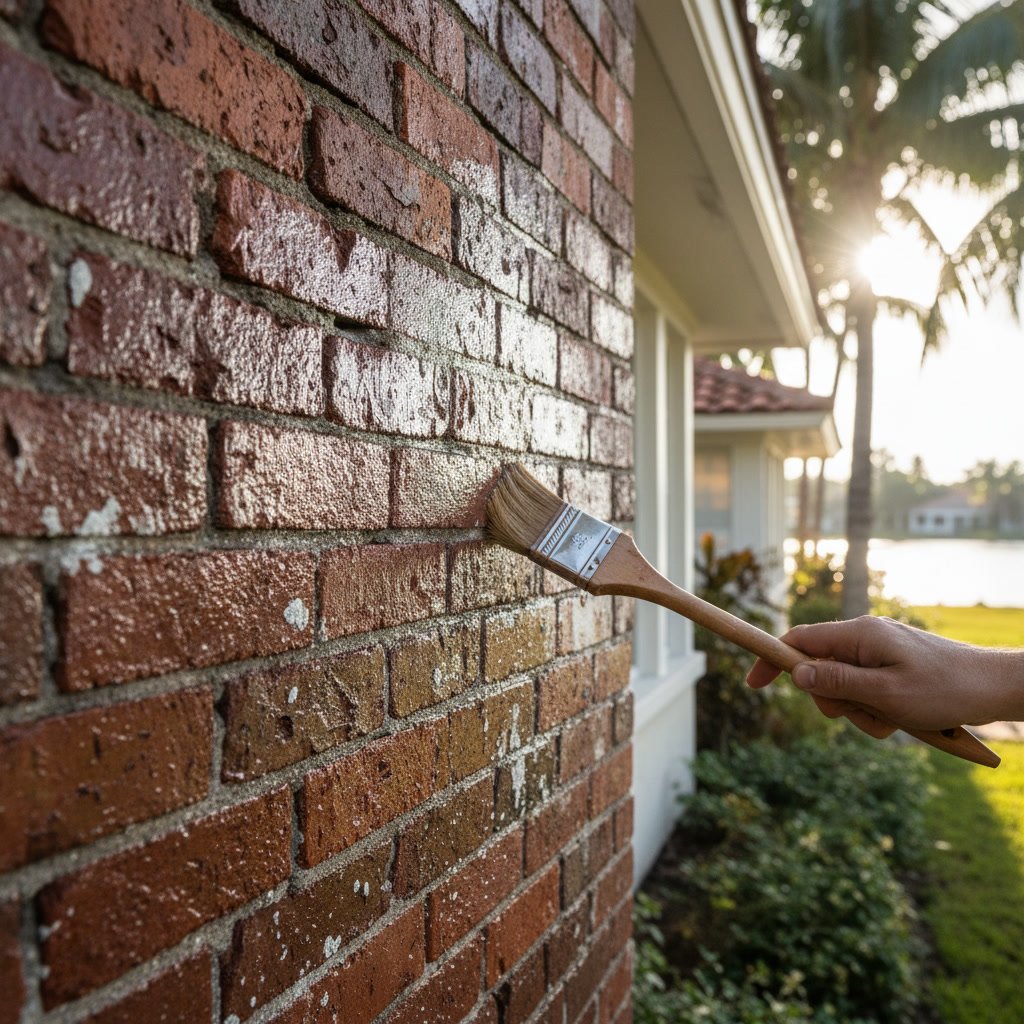
Never use film-forming sealers, latex-based coatings, or traditional waterproofing membranes on historic brick. These products prevent the natural drying that historic wall systems require and can cause catastrophic spalling within just a few years.
Cost Considerations for Historic Brick Repair
Historic masonry restoration typically costs more than standard repair work due to the specialized knowledge, careful techniques, and custom materials required. Understanding what drives costs helps you budget appropriately and avoid contractors who underbid by cutting corners.
Repointing costs range from 8 to 25 dollars per square foot depending on wall height, accessibility, and mortar composition. Custom color matching and lime-based mortars increase costs compared to standard gray cement mortar. Walls above second-story height require scaffolding, adding 15 to 30 percent to project costs.
Individual brick replacement typically costs 25 to 40 dollars per brick including labor and materials. Sourcing matching salvaged bricks adds to material costs but proves essential for authentic results. Large-scale brick replacement projects may qualify for quantity discounts.
Structural repairs involving lintel replacement, wall stabilization, or foundation work range from 1,500 to 15,000 dollars depending on scope and complexity. Similar to other masonry projects like chimney repair costs, these investments protect your home’s value and prevent far more expensive problems later.
Key Takeaway: Spending more upfront for proper materials and experienced craftsmen saves money long-term by avoiding repeat repairs and preventing additional damage from improper techniques.
Selecting the Right Masonry Professional
Not all masonry contractors understand historic restoration work. The techniques and materials appropriate for new construction or modern repairs often prove destructive when applied to historic structures.
Look for contractors with documented experience on period buildings similar to yours. Ask to see photos of completed projects and contact previous clients. Professional organizations like the National Trust for Historic Preservation maintain directories of qualified restoration contractors.
A qualified professional will assess your property, identify underlying problems, recommend appropriate repair methods, and explain why certain approaches suit your specific situation. They should discuss mortar composition, show material samples, and demonstrate understanding of your home’s construction period and regional characteristics.
Avoid contractors who recommend sandblasting, propose portland cement repointing for pre-1930s buildings, or suggest completely waterproofing brick surfaces. These red flags indicate lack of historic preservation knowledge that can result in irreversible damage.
Mark Pecoraro Masonry LLC brings over four decades of experience to historic brick restoration projects throughout Lake Worth, FL and surrounding communities. This depth of experience proves invaluable when working with irreplaceable historic structures.
Maintaining Historic Brick After Repairs
Proper maintenance extends the life of your restoration investment and prevents minor issues from becoming major problems. Regular inspection and simple preventive measures protect historic masonry for future generations.
Inspect your brickwork twice yearly, ideally in spring and fall. Look for new cracks, deteriorating mortar, efflorescence, or biological growth. Address small problems promptly before they expand. Annual inspections cost far less than major repairs.
Keep gutters clean and functioning properly. More water damage results from clogged gutters than from any other single cause. Ensure downspouts direct water at least six feet away from foundation walls.
Trim vegetation away from brick walls. Vines, shrubs, and tree branches trap moisture against masonry surfaces and create pathways for water infiltration. Maintain at least 12 inches of clearance between plants and walls.
Monitor interior spaces adjacent to exterior brick walls for signs of moisture penetration. Staining, peeling paint, or musty odors indicate water moving through the wall assembly. Identifying and correcting these problems early prevents extensive damage.
Frequently Asked Questions
How do I know if my historic home needs brick repair?
Look for visible signs including crumbling or recessed mortar joints, cracks in bricks or mortar, white crystalline deposits on surfaces, pieces of brick flaking off, or bulging and leaning walls. Any of these conditions warrant professional evaluation. Even if problems appear minor, they typically worsen over time and cost less to address early.
Can I use modern mortar on my historic brick home?
Modern portland cement mortars are typically too hard for historic bricks and can cause damage by trapping moisture inside the brick rather than allowing it to escape through softer mortar joints. Historic homes built before 1930 generally require lime-based mortars that match the original composition. A qualified mason can analyze your existing mortar and formulate an appropriate replacement mixture.
Should I seal my historic brick walls?
Film-forming sealers should never be used on historic brick as they prevent necessary moisture transmission and can cause catastrophic spalling. Breathable water repellents may be appropriate in some situations after addressing underlying moisture sources and allowing walls to dry thoroughly. Consult with a historic masonry specialist before applying any products to determine if treatment is necessary and which products suit your specific situation.
How long does brick repair Lake Worth work typically last?
Properly executed repairs using appropriate materials should last 50 to 100 years or more, matching or exceeding the lifespan of the original construction. The quality of workmanship and materials matters more than any other factor. Shortcuts like using wrong mortar types, inadequate preparation, or improper curing can result in failure within just a few years.
What should historic brick restoration cost in South Florida?
Costs vary based on project scope, wall accessibility, and required materials. Simple repointing typically ranges from 8 to 25 dollars per square foot, while individual brick replacement costs 25 to 40 dollars per brick. Structural repairs and large-scale restoration projects require on-site evaluation for accurate estimates. Quality historic restoration costs more than standard masonry work but protects your investment through proper techniques and materials.
Preserving Lake Worth’s Architectural Heritage
Historic homes contribute irreplaceable character to Lake Worth’s neighborhoods and represent tangible connections to Florida’s architectural past. Proper brick repair Lake Worth techniques preserve these structures for future generations while maintaining the integrity that makes them special.
When your historic home needs masonry restoration, choosing experienced professionals who understand period-appropriate methods makes all the difference. Mark Pecoraro Masonry LLC has served Lake Worth and surrounding areas for over 40 years, bringing deep knowledge of historic construction to every project.
Whether you need masonry repairs, repointing, or complete restoration, working with specialists who respect your home’s heritage ensures results that honor the past while protecting the future. Contact Mark Pecoraro Masonry at +15619510233 to discuss your historic brick restoration project.